A conservatory is a wonderful addition to any home, providing extra space and allowing you to enjoy natural light throughout the year. However, one common issue that many homeowners face is poor temperature regulation. In summer, conservatories can become unbearably hot, while in winter, they feel too cold. This problem occurs due to the wrong insulation. The best solution to this issue is to properly insulate the conservatory roof.
In this article, we will guide you through everything you need to know about conservatory roof insulation

Benefits of Insulating a Conservatory Roof
Insulating your conservatory roof offers several key benefits:
- Year-Round Comfort – Keeps the space warm in winter and cool in summer.
- Energy Efficiency – Reduces heat loss, lowering heating and cooling costs.
- Noise Reduction – Minimizes noise from heavy rain and outdoor disturbances.
With proper insulation, your conservatory becomes a more comfortable, quieter, and cost-effective space to enjoy in any season.
Different Methods to Insulate a Conservatory Roof
There are several effective methods to insulate a conservatory roof, each with its own benefits. Choosing the right method depends on your budget and how much insulation you need. Let’s discuss the most effective options in detail.
1- Install Insulated Roof Panels
One of the best ways to insulate the conservatory roof is by replacing the existing glass or polycarbonate panels with insulated roofing panels. These panels contain a thick layer of thermal insulation for a conservatory roof that is sandwiched between protective outer layers, helping to maintain a stable temperature throughout the year. They come in various materials, such as composite, aluminium, or uPVC, and each material offers excellent durability and weather resistance.
Pros:
- Provides maximum thermal roof insulation, making the conservatory usable all year round.
- Reduces heat loss and prevents excessive heat buildup in summer.
- Long-lasting and requires minimal maintenance.
Cons:
- More expensive than other insulating conservatory roof methods.
- Requires professional installation.

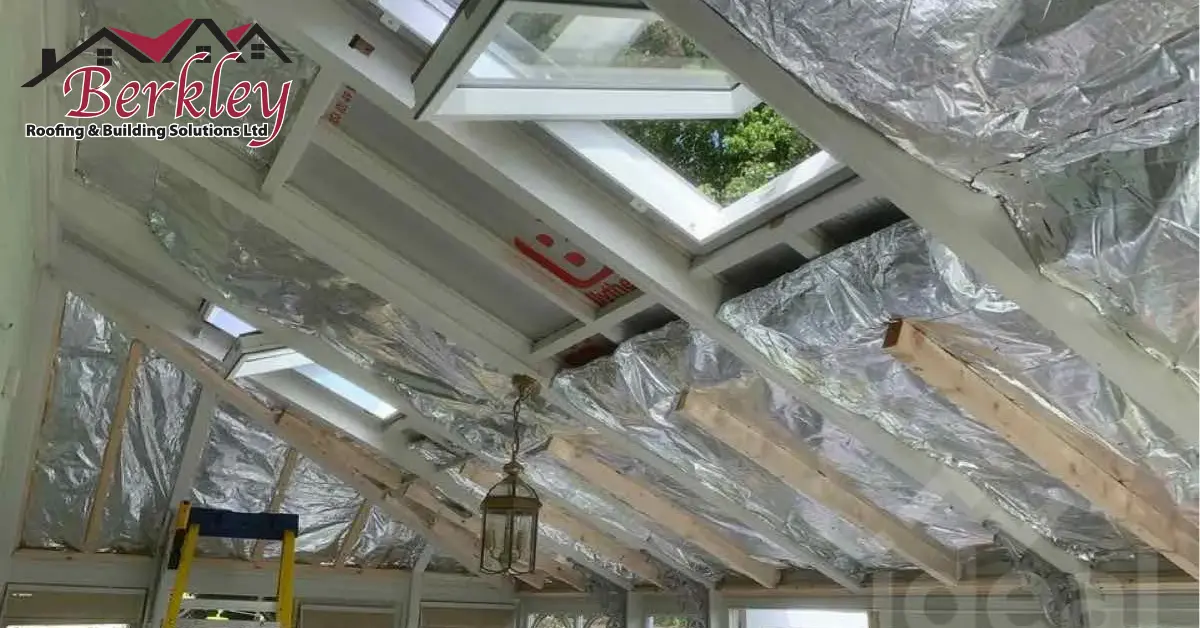
2- Add Multi-Layer Foil Insulation
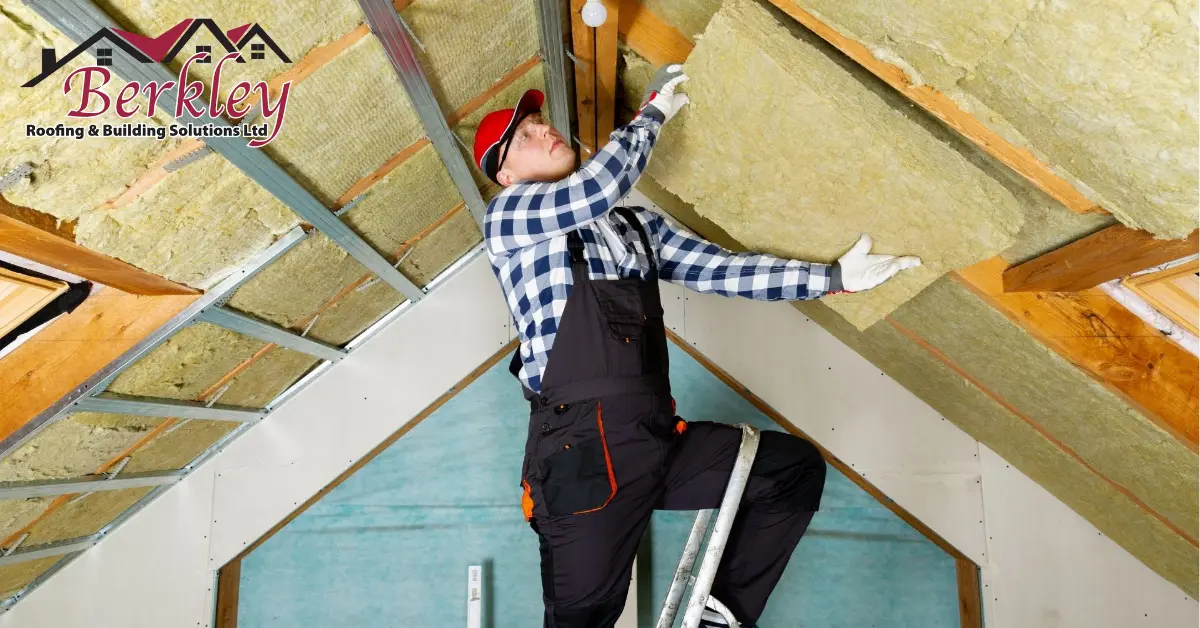
Foil insulation is another practical option for insulating a conservatory. This involves fitting a multi-layered reflective foil under the existing roof, which helps reflect heat back into the room during winter and deflect it during summer. This usually involves attaching multi-layer foil insulation, thermal quilt insulation, or insulated plasterboard to the interior ceiling. The process is to fit timber battens across the existing roof structure, followed by insulating roof materials and a decorative internal ceiling finish.
Pros:
- More affordable than replacing the roof panels.
- It can be installed relatively quickly.
- Helps with heat retention and reduces glare from direct sunlight.
Cons:
- Slightly reduces the internal ceiling height.
- May not be as effective as fully replacing roof panels.

3- Use Thermal Blinds or Curtains
Though not as effective as other methods, thermal blinds or curtains can help reduce heat loss and glare from sunlight. This is an affordable way to improve insulation for a conservatory roof, especially if you’re looking for a temporary solution. They are available in different styles, including pleated, roller, and blackout blinds, which can enhance the overall aesthetic of the conservatory while improving roof insulation.
Pros:
- Low-cost solution compared to other insulating conservatory roof methods.
- Easy to install and replace.
- Provides flexibility, so you can adjust or remove them as needed.
Cons:
- Does not insulate the roof structure itself, only reduces heat transfer through windows.
- Limited effectiveness during extreme weather conditions.

4- Upgrade to a Tiled Roof
If you are looking for a permanent and highly effective insulated roof conservatory solution, converting the conservatory roof to a solid tiled roof is an excellent choice. A tiled roof provides superior roof insulation, completely transforming the conservatory into a proper extension of the house. The roof is usually constructed with lightweight tiles and an internal plastered ceiling, often incorporating additional insulating roof layers for optimal thermal efficiency.
Pros:
- Provides the best thermal and sound insulation for conservatory roofs
- Increases the conservatory’s energy efficiency, reducing heating and cooling costs.
- Enhances the appearance and value of the property.
Cons:
- More expensive than other insulating conservatory roof options.
- May require planning permission depending on local building regulations.

How to Insulate a Conservatory Roof? A Step-by-Step Guide
Insulating a conservatory roof is a good investment, and depending on the method you choose, it can be a DIY project or require professional installation. Follow these steps to make sure proper conservatory roof insulation.
Step 1: Check Your Existing Roof
Before starting the insulation process, study your current roof type. Most conservatories have glass or polycarbonate roofs, which offer little thermal resistance. Carefully look for any damages, leaks, or weak spots that might affect the insulation process.
Step 2: Choose the Right Insulation Method
There are several options available to insulate a conservatory roof. The best method depends on your budget, preference, and desired level of insulation. The most common methods include:
- Installing Insulated Roof Panels
- Adding Internal Insulation Layers
- Using Thermal Blinds or Curtain
- Upgrading to a Solid Tiled Roof
Step 3: Gather the Necessary Materials and Tools
If you are ready for a DIY, you’ll need the following materials and tools:
- Insulation material (multi-layer foil, thermal quilt, or insulated panels)
- Timber battens (for internal insulation support)
- Screws and fixings
- Measuring tape and cutting tools
- Adhesive or insulation tape
- Plasterboard and finishing materials (if required)
Step 4: Prepare the Conservatory Roof for Insulation
Before installing the insulation, clean the roof completely. Remove any dust, debris, or mould to guarantee a smooth installation. If you are adding internal insulation, fix timber battens to the existing framework to create a structure for attaching the insulation material easily.
Step 5: Install the Insulation Material
Depending on your chosen method:
For Internal Insulation: Attach the insulation sheets between the timber battens and secure them using screws or adhesive. Make sure it’s tight so there will be no air gaps.
For Insulated Roof Panels: Carefully remove the old panels and replace them with new insulated roof conservatory panels.
For Thermal Blinds or Curtains: Simply fit them according to the manufacturer’s instructions.
Step 6: Seal and Finish the Insulation
Once the insulation material is in place, use adhesive tape or sealant to cover any gaps. If installing internal insulation, finish with plasterboard and paint for a smooth look. If you have chosen a tiled roof upgrade, Make sure there is proper ventilation to prevent condensation.
Step 7: Test the Results
After completing the installation, monitor the conservatory’s temperature over a few days. You should notice a significant improvement in heat retention during winter and reduced overheating in summer. If necessary, make small adjustments to seal any air leaks.

Real Life Example: A Case Study
Berkley Roofing & Building recently completed a conservatory roof insulation project in Enfield, where a homeowner was struggling with extreme temperature fluctuations in their glass-roofed conservatory.
The Problem:
The client’s conservatory became unbearably hot during summer, making it unusable for months. In winter, the space was too cold, causing their energy bills to rise significantly. They were looking for an effective yet budget-friendly solution to insulate their conservatory roof.
The Solution:
After assessing the structure, our team of roofers in Enfield recommended installing internal insulated panels combined with a multi-layer foil insulation system. This method provided excellent thermal regulation without the need for a complete roof replacement. The installation was completed in just a few days with minimal disturbance to the household.
The Results:
The homeowner immediately noticed a significant difference. The conservatory maintained a comfortable temperature throughout the seasons, and its energy bills dropped due to reduced heating and cooling usage. They were extremely happy with the work and praised our team for their expertise and professionalism.
Conclusion
Insulating a conservatory roof is one of the best ways to improve comfort, reduce energy costs, and make better use of the space all year round. Whether you choose internal insulation panels, foil insulation, a solid roof upgrade, or any other method, just make sure it’s done nicely.
And if you are struggling to do it yourself, consider reaching out to us at Berkley Roofing & Building. Our expert team can assess your conservatory and provide the best insulation solution to meet your demands.
FAQs
Can I insulate my conservatory roof myself?
Yes, some methods like installing thermal blinds or foil insulation, can be DIY projects. However, for insulating a conservatory roof with solid panels or internal plasterboard, professional installation is recommended.
How long does it take to insulate a conservatory roof?
The duration depends on the method used. Installing roof insulation panels can take a day, while a tiled roof conversion may take several days.
How much does conservatory roof insulation cost?
Costs vary based on materials and installation. It all depends on the method you choose and the professionals you hire.

