Many homeowners face challenges when it comes to installing fascia boards and soffits. It’s common to feel uncertain about where to begin or how to avoid mistakes during the process. But getting it right is important to prevent problems like leaks, water damage, and other issues.
Based on expert tips and our own knowledge, we’ve prepared an easy-to-understand process. After reading, you’ll confidently install fascia boards and soffits without mistakes.
Tools and Materials You’ll Need
Before you begin, it’s important to gather the right tools and materials. Using good-quality materials helps the fascia and soffit last longer and stay in good shape. Here’s a list of what you’ll need:
- Fascia boards
- Soffit panels
- Screws
- Hammer
- Measuring tape
- Ladder
- Sealant
- Power drill
- Saw (for cutting fascia and soffit panels)
- Protective gloves and glasses
How to Install Fascia Board and Soffit: Simple Guide
1. Remove Old Fascia and Soffit (If Needed)
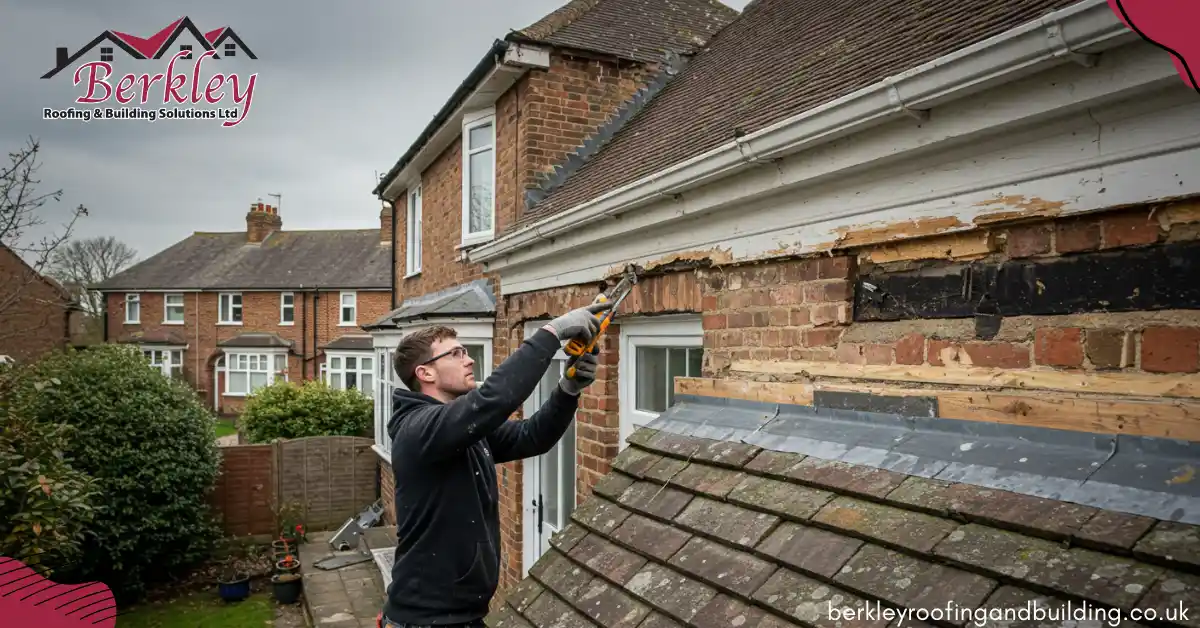
If you’re replacing old fascia and soffits, start by carefully removing the existing ones. Use a crowbar or hammer to pry off the fascia board from the rafters. Begin at one end and slowly work your way along the roofline, taking care not to damage the surrounding area. Once the fascia is removed, check the soffit underneath for any signs of damage or rot. Fix any structural issues before moving on to the new installation. If any joints near the gutter are leaking, you might read our guide on fixing a leaking gutter joint to stop further water issues.
2. Measure and Cut the Fascia Board
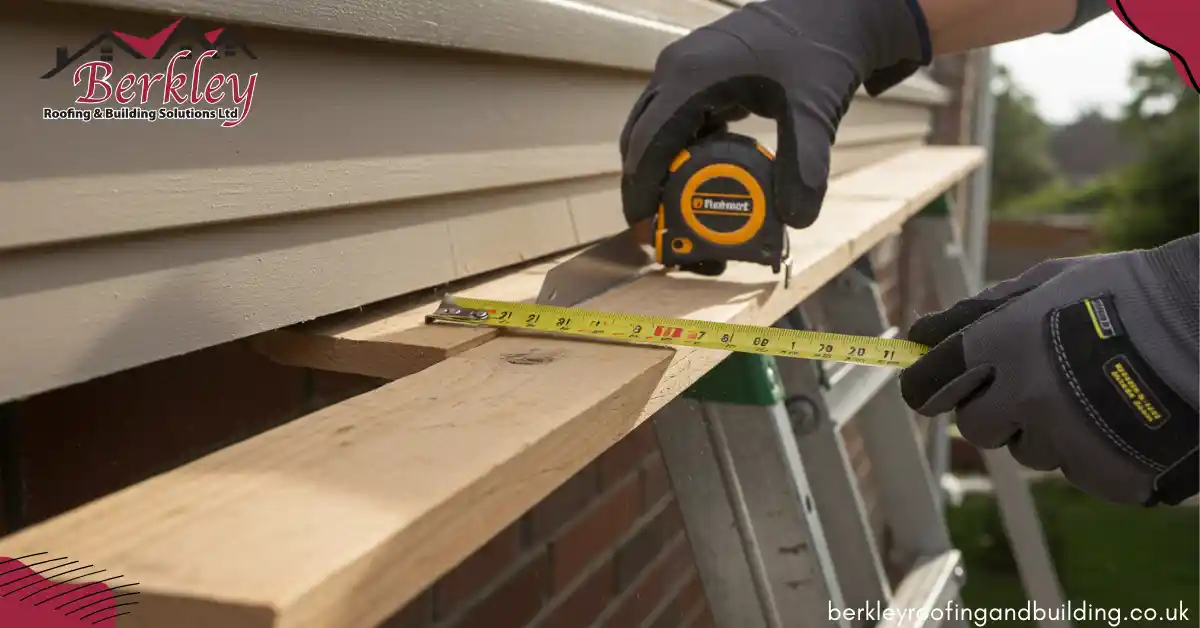
Take accurate measurements of the length of the roof edge where the fascia board will go. Use a measuring tape to get the correct length, and mark the fascia board to match this measurement. Use a saw to cut the fascia board to the required size. Check the cuts to make sure they are straight, so the fascia fits tightly against the roofline. Double-check the measurements and cut before moving to the next step.
3. Install the Fascia Board
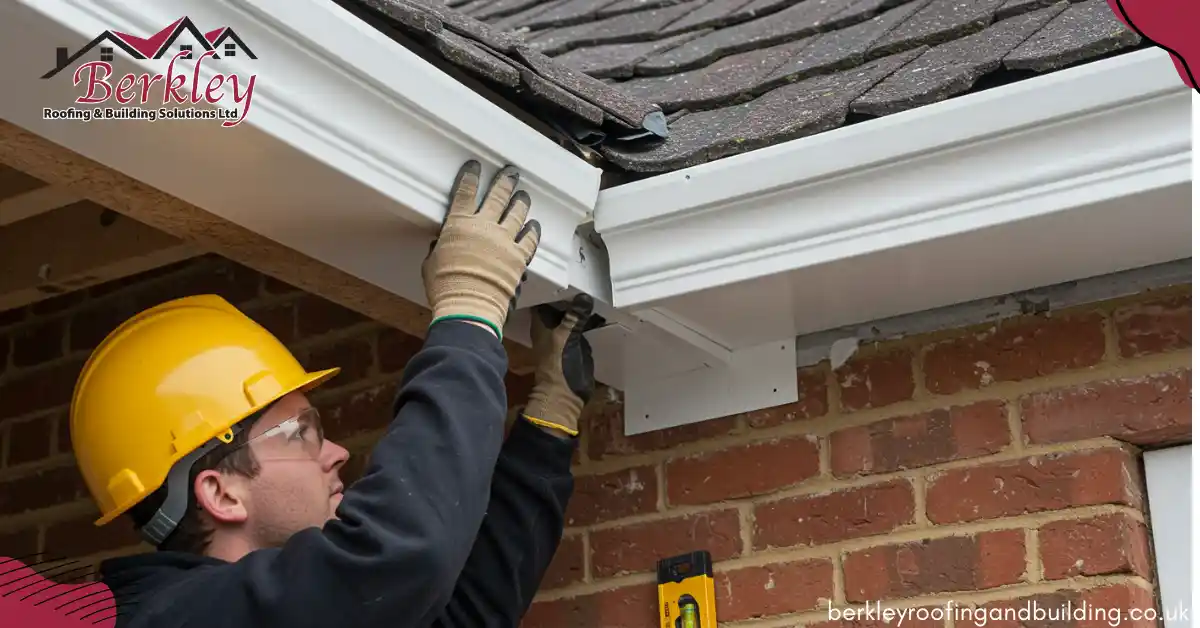
Position the fascia board along the roof’s edge, keeping it straight and level. Hold the fascia in place and use a drill to insert screws through the fascia board into the roof rafter. Space the screws every 6 to 8 inches for a secure attachment. Tighten the screws enough so the fascia stays in place, but avoid overtightening, which could cause the board to crack. Check the fascia alignment with the roofline periodically to prevent uneven gaps. This step is key for a successful fascia board installation, providing a firm fit and protecting your roof from potential damage.
4. Measure and Cut the Soffit Panels
Measure the distance between the fascia and the eaves, as this is where your soffit panels will sit. Use a measuring tape to get an accurate length, then transfer the measurement to your soffit panels. Cut the panels with a saw so they fit neatly in the space. If you’re using vented soffits, position the vented sections to allow airflow and reduce moisture buildup. For a clean, tidy finish, the soffit panels should sit snugly against the fascia board.

5. Install the Soffit Panels
With the soffit panels cut to size, position them underneath the fascia. Depending on the style of soffit you’re using, you might need clips or screws to secure them. For soffit boards with clips, insert the clips into the channels of the soffit and attach them to the rafters. If using screws, drill them through the soffit and into the rafter, spacing them every 6 to 8 inches. Keep the panels level and flush against the fascia board for a neat finish. If using vented soffits, position them for proper airflow.
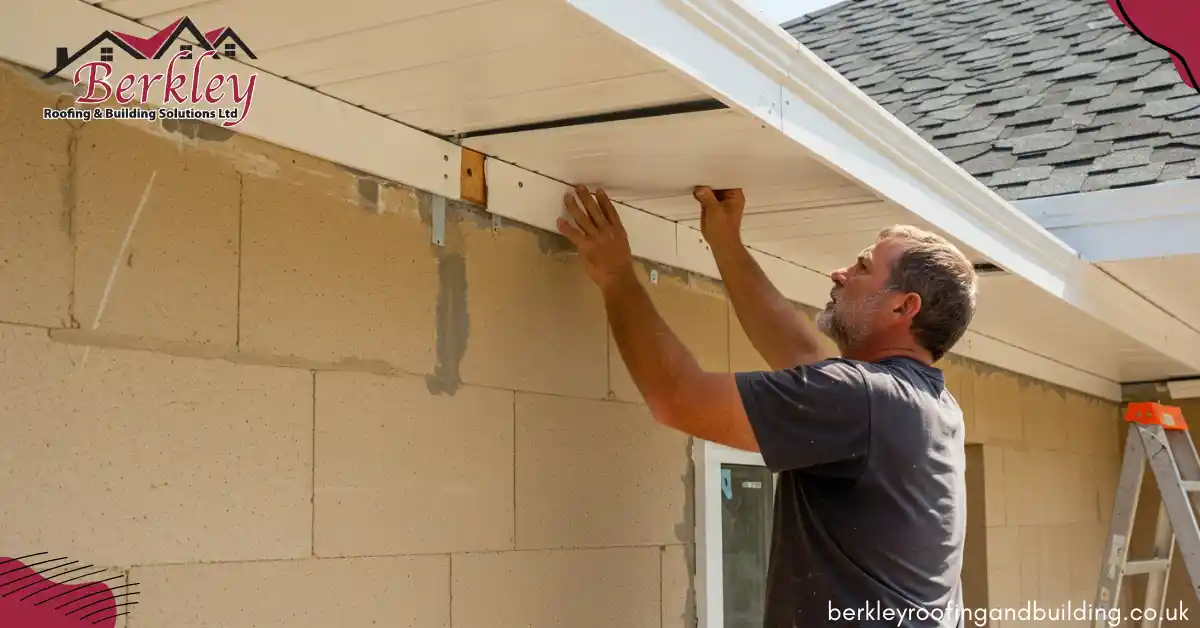
6. Seal the Joints
Once the fascia board and soffit panels are installed, apply a high-quality outdoor sealant to the joints where the fascia meets the soffit. Smooth the sealant with a tool or your finger to create an even seal. This will help prevent water from entering and causing damage to the roof structure.
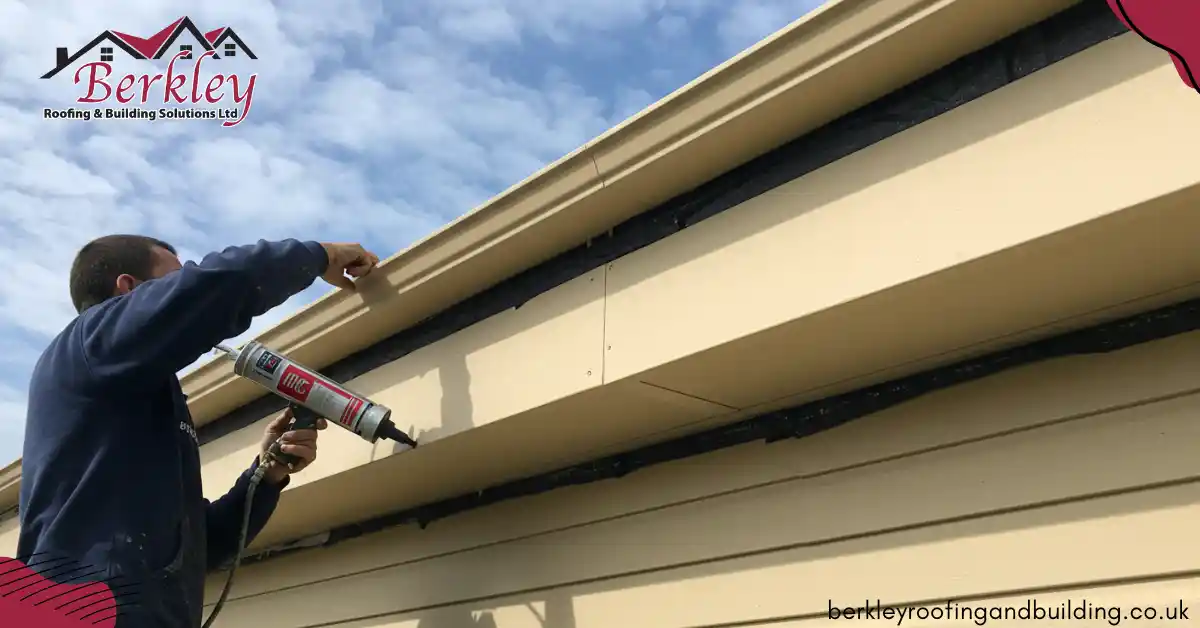
7. Final Inspection and Clean-Up
After installation, check that everything is secure and aligned. Look over the fascia and soffit installation for any gaps or loose parts. Test the stability by gently tugging at the fascia to confirm it’s firmly attached.
Clean up any debris, excess sealant, or sawdust from the installation. Wipe down the area to keep it neat and tidy. This will improve the appearance and prevent dirt or debris from clogging up the system later.
When to Call the Professionals
While installing fascia and soffits can be a manageable DIY project for many, there are situations where it’s better to call in a local roofer. If your roof is particularly high or steep, or if you notice any underlying structural issues, it’s best to get professional help. Also, if you feel uncomfortable with the installation process or lack the necessary tools, don’t hesitate to reach out to a fascia and soffit service. Professionals have the expertise and equipment to handle complex installations, and the job is done correctly, especially in difficult conditions.
Real Case Study: Fascia and Soffit Installation in Enfield
Problem:
A homeowner in Enfield noticed water damage around the edges of their roof, with damp patches appearing along the eaves. Upon inspection, they discovered that the fascia and soffit boards had become rotted and no longer provided proper protection. This left the roof vulnerable to leaks, pests, and moisture buildup.
Solution:
The homeowner decided to replace the old fascia and soffit boards. Following a step-by-step guide, they carefully removed the damaged boards, measured and cut the new fascia and soffit panels to fit, and installed them securely. They also sealed the joints between the fascia and soffit to prevent water from entering. The homeowner then contacted our expert roofers in Enfield for advice and assistance in completing the task to ensure a proper and lasting installation.
Outcome:
The new fascia and soffit were installed successfully, providing a fresh, protective layer for the roof. The homeowner no longer faces water damage, and the property is better protected against the elements. The installation also improved the home’s overall appearance, making it look more polished and well-maintained.
Conclusion
Installing fascia boards and soffits may seem challenging at first, but with the right tools and guidance, it’s a task many homeowners can handle. By following each step carefully, from removing old materials to sealing joints, you can improve your roof’s durability and appearance while protecting your home from water damage and pests.
However, if you’re unsure or face issues like structural damage or high roofing areas, it’s always better to consult with a professional. Proper installation keeps your roof safe and adds value to your home.
FAQs
1. What is the best material for fascia and soffit?
UPVC is one of the most popular choices for fascia and soffit. It’s low maintenance, long-lasting, and doesn’t rot like wood. Aluminium and timber are also used, but uPVC is usually the easiest to work with and keeps its look for years.
2. How much does it cost to install soffit and fascia?
The cost can vary depending on the size of your roof and the materials you choose. If you’re only doing a section or going DIY, it could be much less.
3. How long does it take to install soffit and fascia?
For an average home, installation can take 1 to 2 days if done by professionals. If you’re doing it yourself, it might take longer, especially if you’re new to the job or run into any repairs.
4. How long do UPVC soffits and fascias last?
uPVC soffits and fascias can last 20 to 30 years or more with very little upkeep. They don’t need painting and stand up well to weather, making them a long-term option for most homes.

