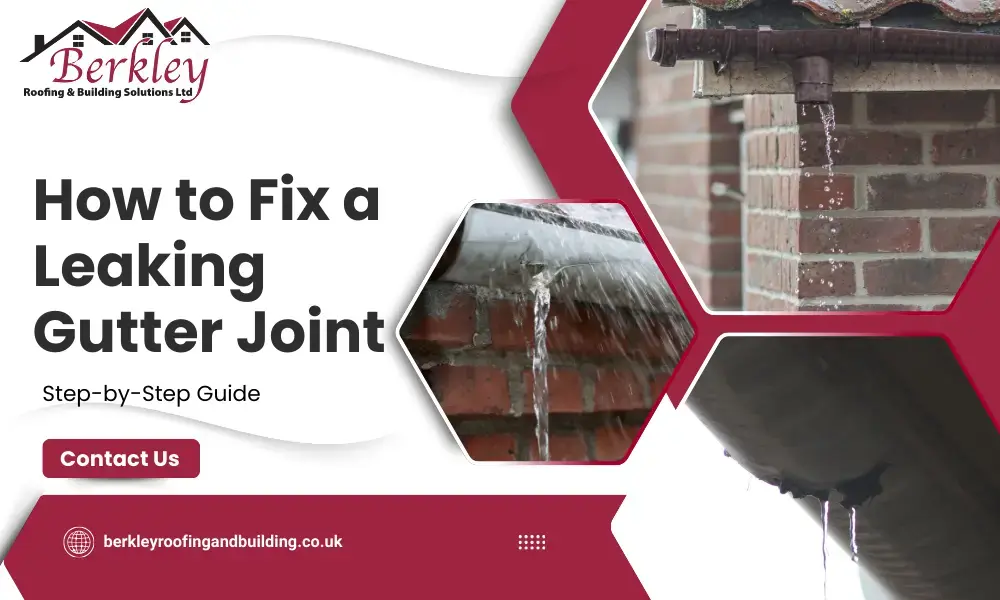
Leaking gutter joints are a common issue for homeowners. You may spot water dripping where two pieces of gutter join, running down the wall or splashing onto the ground. While it might seem minor at first, leaving it can lead to damp, brickwork damage, or even rotting wood behind the gutter.
This type of leak often happens because of wear and tear, loose joints, or a buildup of dirt and leaves. It’s usually easy to spot, and in most cases, doesn’t take much to fix. You don’t need special tools or expert skills; just a few simple steps can get it sorted.
We’ve shared our knowledge and expertise on how to fix a leaking gutter joint in simple steps, so it’s easy to fix the issue. Additionally, we’ve included a real example of how our Berkley Roofing & Building Solutions Ltd team used their skills to repair a leaking gutter joint for a customer in Enfield. They were dealing with the same problem and were very happy with the results.
Common Causes of Leaking Gutter Joints
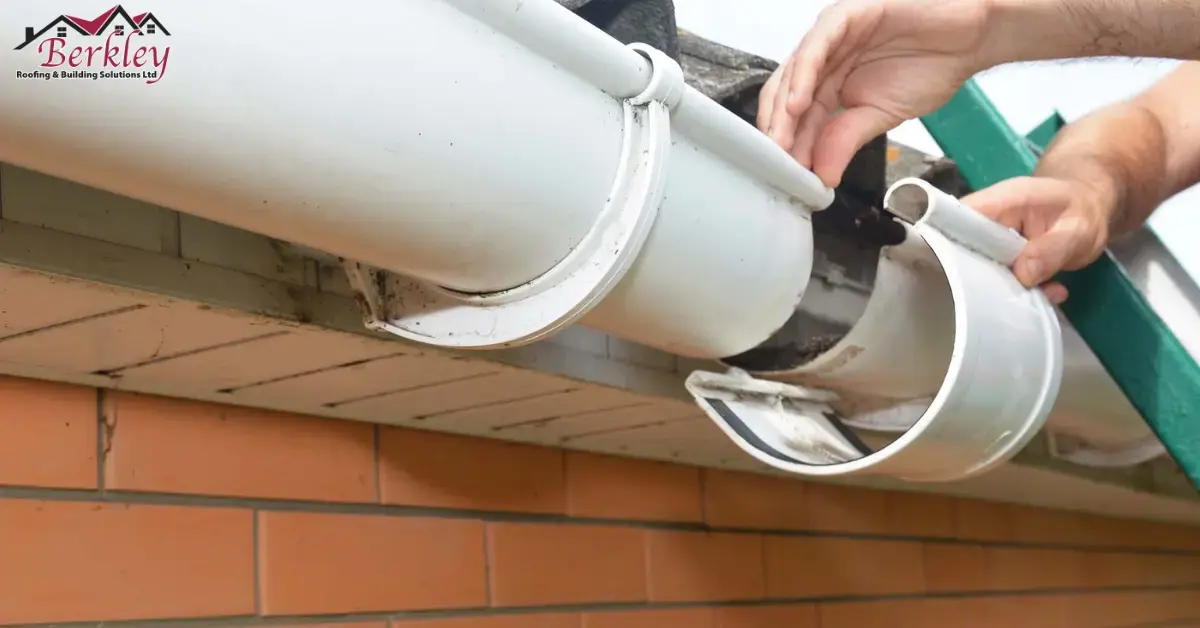
Gutter joints can start leaking for several reasons, most related to wear and tear over time. Here are some of the most common issues:
- Build-up of Leaves and Moss
Over time, leaves, moss, and other debris can accumulate in your gutters. This build-up can block the flow of water, causing it to back up and put pressure on the seams where the joints meet. Eventually, this pressure can force water through small gaps in the joint, leading to leaks. - Loose or Misaligned Joints
If the joints between two sections of your gutter become loose or misaligned, they can no longer form a proper seal. Even a small gap or misalignment can cause water to escape, resulting in a leaking gutter joint. This is often caused by age, improper installation, or general movement due to weather conditions. - Worn-out or Cracked Rubber Seals
Many gutters use rubber seals to create a tight connection at the joints. Over time, these seals can become brittle, crack, or wear out from exposure to the elements. Once the rubber seals are damaged, water can easily leak through the joints, causing problems for your gutter system. - General Wear and Tear from Weather
Your gutters face all kinds of weather throughout the year, including rain, wind, snow, and even the sun’s heat. Over time, this constant exposure can cause the materials to weaken. The joints, in particular, can be affected by temperature fluctuations, leading to small cracks or gaps that let water leak out.
What You’ll Need to Repair a Leaking Gutter Joint
Before you get started, gather a few simple tools:
- Ladder (sturdy and safe)
- Gloves
- Gutter sealant (suitable for outdoor use)
- Clean cloth or rag
- A bucket or a sheet to catch muck
- Screwdriver or pliers (if joints are clipped or screwed)
- Replacement seal or joint piece (if the old one’s too far gone)
How to Fix a Leaking Gutter Joint
Step 1: Clean the Area
Start by cleaning the area around the leaking joint. Remove leaves, moss, dirt, and any debris that may be clogging the gutter or joint. Use a cloth or brush to dry the section, so the sealant adheres properly and forms a tight seal.
Step 2: Inspect the Joint
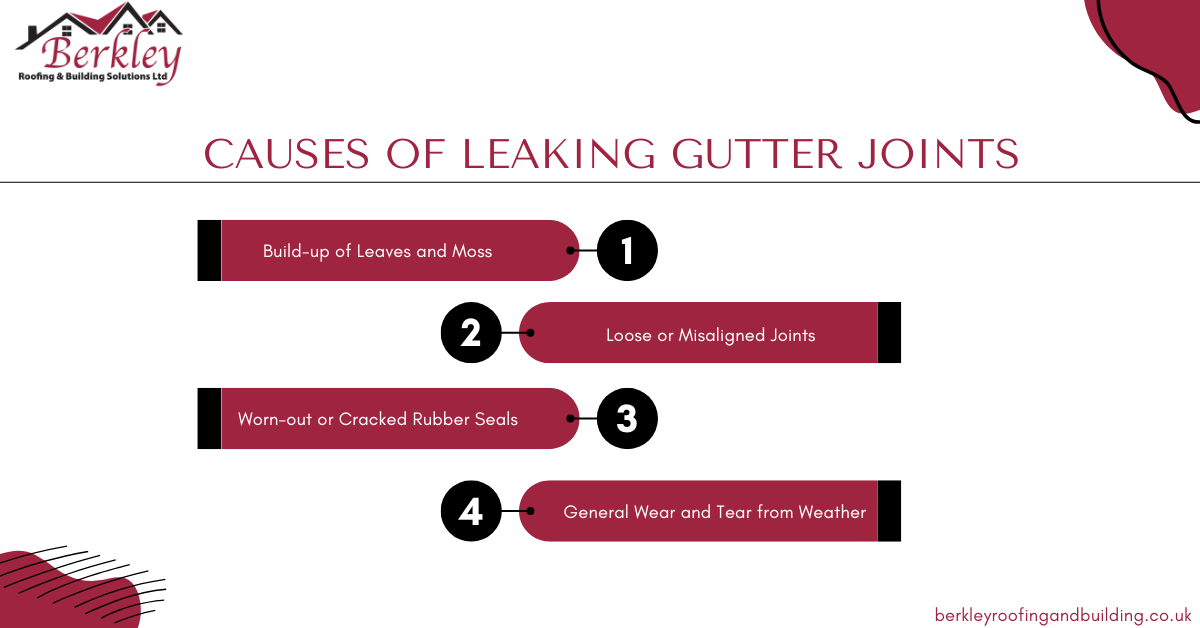
Look closely at the joint to see how bad the leak is. Sometimes the joint simply comes apart and needs to be clipped back into place. If there are cracks or the seal is worn, it will need to be replaced. The inspection will help you decide whether the issue is a quick fix or requires more extensive repairs.
Step 3: Apply the Sealant
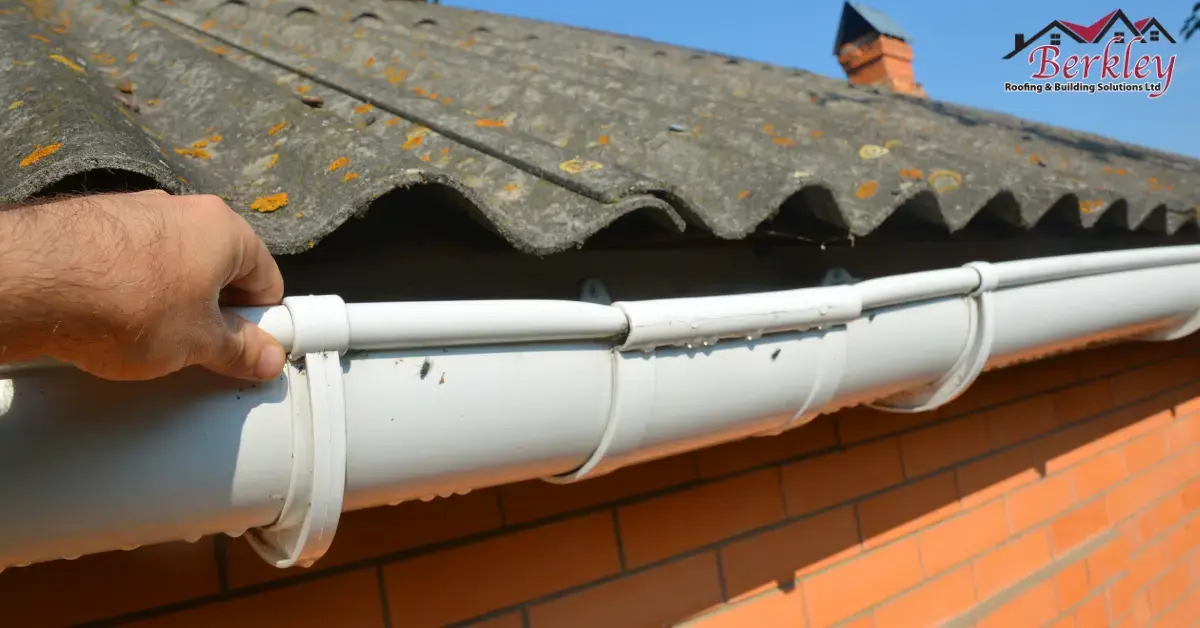
If the joint is in good condition, apply a generous bead of gutter sealant around the inside of the joint. Spread it evenly, covering the edges where water could escape. The sealant needs to be thick enough to block the water, so don’t hesitate to use a reasonable amount. Choose a waterproof, weather-resistant sealant designed for outdoor use.
Step 4: Reconnect the Gutter Sections
Once the sealant is applied, reconnect the gutter sections. If the gutter uses clips or screws to hold the sections together, push them back into place and secure them. Tighten any screws or clips as needed, ensuring the joint is firmly in place. Double-check the alignment to prevent any gaps.
Step 5: Inspect the Seals and Joints
After reconnecting the sections, inspect the seals to confirm they’re correctly positioned. Check that everything aligns and that there are no gaps. A tight connection is vital to preventing future leaks.
Step 6: Test the Gutter
Now it’s time to test your repair. Pour a small amount of water through the gutter to check for leaks. Pay close attention to the joint where the sealant was applied. If no water is leaking, the job is complete. If water still leaks, you may need to use more sealant or recheck the alignment.
Step 7: Final Inspection and Clean-up
After confirming the leak is fixed, do a final inspection of the entire gutter system. Look for any other loose joints or areas that need attention. Clean up any excess sealant or debris to keep everything neat.
When Should You Call the Professionals?
If the gutters are easy to reach and the damage is small, you can probably fix it yourself. But if the gutters are hard to access, have cracked or rusty parts, or if the leak keeps coming back, it’s best to call a local roofer. Fixing the problem properly now can help avoid more issues later, saving your money in the future. Getting expert help is the right choice if the problem seems too much for a simple fix.
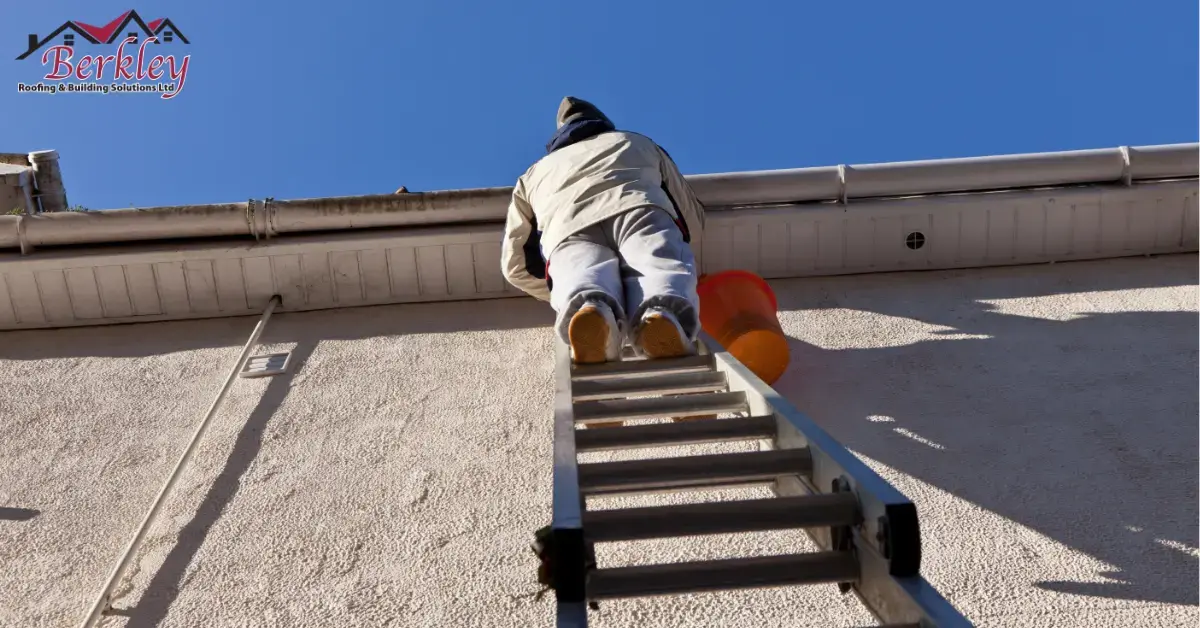
Real-Life Case: How We Fixed a Gutter Joint Leak in Enfield
At Berkley Roofing & Building Solutions Ltd, we recently received a call from a homeowner in Enfield with a problem that might sound familiar. They had noticed a gutter leaking at the joint every time it rained, and it was beginning to stain the brickwork below.
Our team of expert roofers in Enfield responded quickly and provided a free inspection. After thoroughly checking the full run of gutters, we discovered that one of the joints had a worn rubber seal and was slightly misaligned. We cleared out the debris, realigned the joint, and applied high-quality gutter sealant specifically designed to withstand the British weather. To top it off, we replaced the seal for added peace of mind.
The customer was completely satisfied with our work. There were no more leaks or drips, and the repair was clean and tidy. They were very happy with the result and left us a positive review!
Top Tips to Keep Gutter Joints Leak-Free
Here are some tips to prevent gutter joints from leaking:
- Clean Your Gutters Regularly: Clean your gutters once or twice a year to avoid debris buildup that can cause leaks.
- Inspect After Storms: Check your gutters and joints after heavy storms to spot any damage or misalignment early.
- Use Quality Materials: Always use good-quality sealant and parts so your repairs hold up well over time.
- Check for Loose Joints: Regularly check for loose or misaligned joints and tighten them to prevent leaks.
- Install Gutter Guards: Gutter guards help keep debris out, reducing pressure on joints and preventing leaks.
Conclusion
Fixing a leaking gutter joint might seem like a small task, but it’s important to address it quickly to prevent more significant issues like damp or damage to your home. By following these simple steps, you can tackle the problem yourself and save time and money. Regular inspections and maintenance, like cleaning your gutters and checking for wear, can help keep leaks at bay.
However, if you’re unsure or the damage is extensive, don’t hesitate to call the professionals. At Berkley Roofing & Building Solutions Ltd, our expert roofers are always ready to provide a thorough inspection and reliable guttering service. Fixing the issue now can save you from costly repairs down the line, and your home will be better protected against the elements.
By staying proactive and following these simple tips, you’ll keep your gutters in top shape and your home safe from the damaging effects of leaking gutter joints.
FAQs
1. What is the best way to seal a leaking gutter joint?
Clean the joint and apply a high-quality, weather-resistant sealant. Reassemble the gutter sections to make sure a tight, leak-proof connection. Let it dry properly.
2. Why is my gutter leaking at the joint?
Leaks at the joint are often caused by debris buildup, joint misalignment, worn-out seals, or wear from weather exposure over time. Regular maintenance can help prevent them.
3. Do gutter joints need sealant?
Yes, gutter joints require sealant to prevent leaks through gaps. Over time, the sealant may need to be reapplied to maintain a proper seal and avoid water damage.
4. How to fix water leaking between the gutter and the fascia?
Check for misalignment or sagging of the gutter, adjust it if necessary, and apply sealant between the gutter and fascia to stop water from leaking.

